AR Case Study | How Lucie Bouchet created the ‘Nicky Doll – Edea’
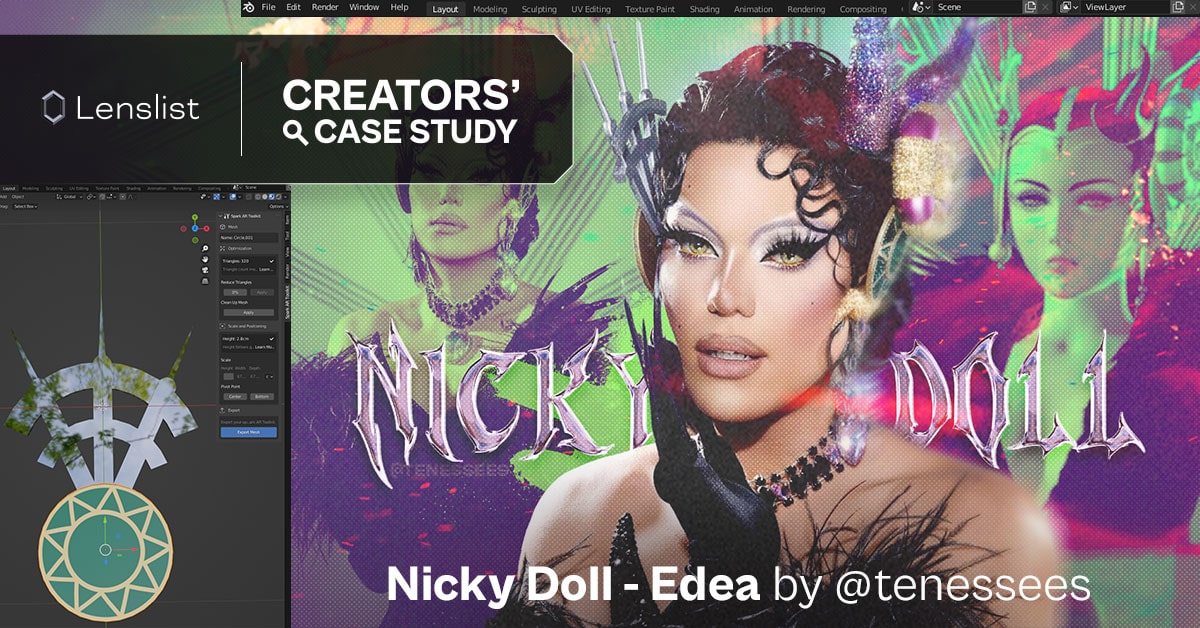
The charm of Augmented Reality lies in its ability to craft new visuals with filters, enabling you to step into a completely fantastical world and assume any persona you desire! 💅🏻
Through inspiration and painstaking work to create a super brilliant look that dazzles with its uniqueness and Drag Queen’s character 👑 – Lucie Bouchet shared the facts of creating a stunning and exceptional Drag artist look, exemplified by Nicky Doll! 👄
Experience the AR interpretation of Drag Diva, and, most importantly, delve into the behind-the-scenes story of its creation in our ultra-glamorous Case Study! 💃🏻💄
The idea behind the AR effect
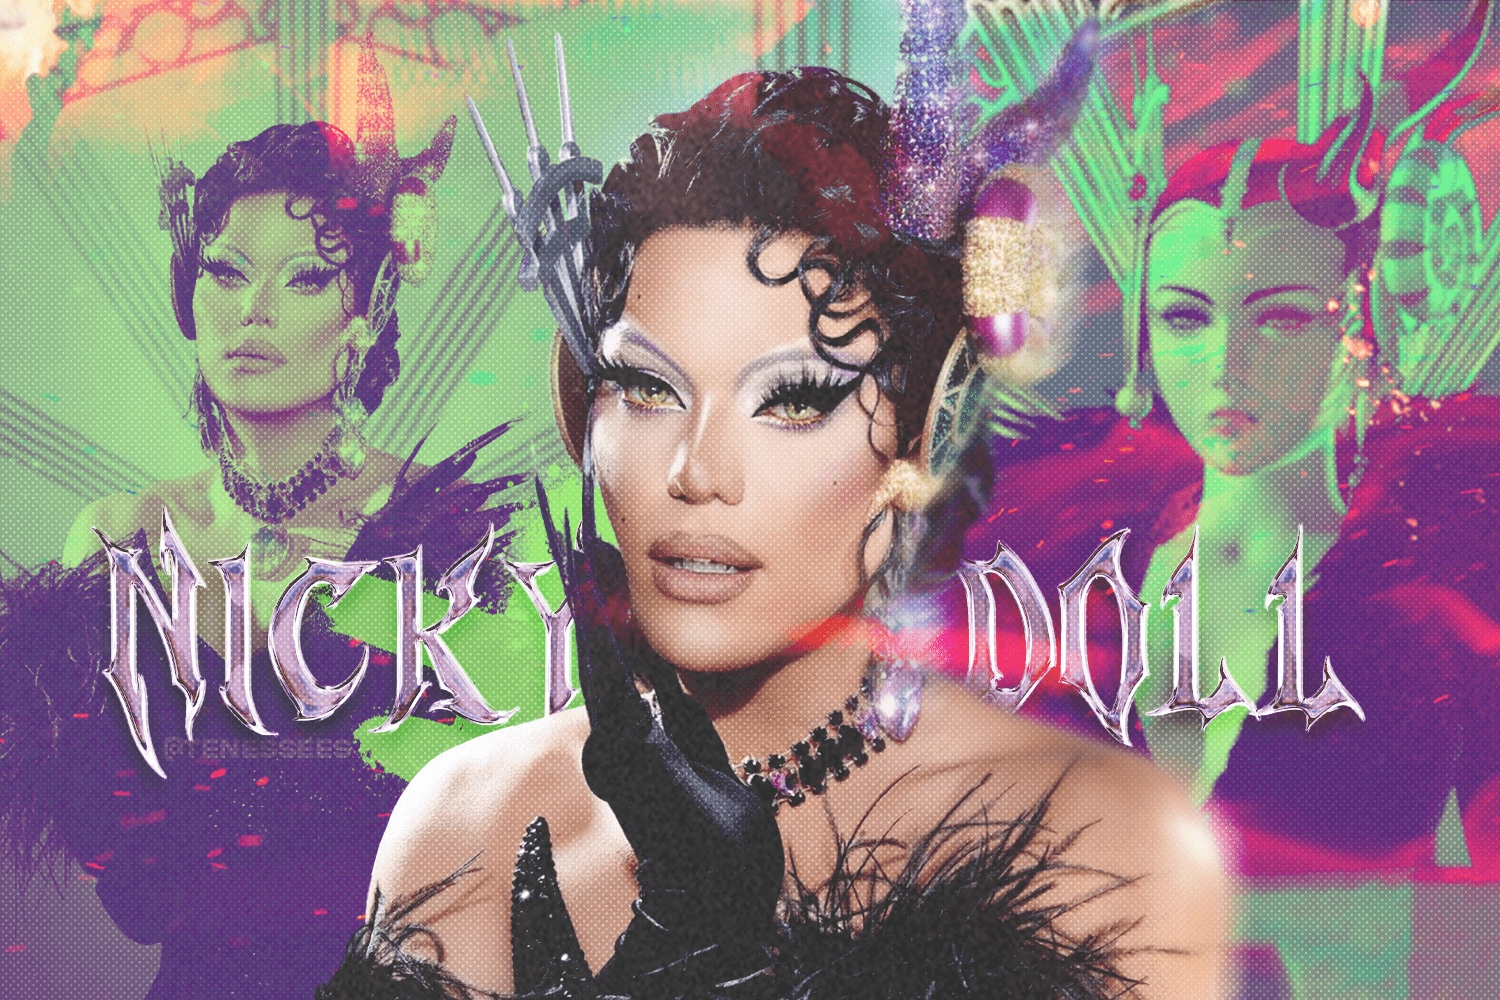
I’ve always loved creating makeup effects, it’s what I’m specialized in and after a long break, I decided to create again. I was watching Drag Race France and I fell in love with Nicky Doll, the presenter and her incredible looks, it was obvious to me that I had to recreate this makeup.
Preparing the concept
Usually, I have a global vision of the project, but I don’t think I’m very organized haha. For this effect, it was easier since it was a reproduction of something already existing. I didn’t have to imagine a makeup or a concept, everything was already there. The goal was to be closer to the initial look. For that, I took a lot of screenshots of the makeup and headpiece Nicky was wearing, but I also looked into the inspiration for her look: Edea, a character from Final Fantasy VIII.
I’ve watched videos of the game, and listened to the music of the game, I was totally immersed in this. It was important to me to fully understand the character I was reproducing. Once I did that, I started the effect with the 3D. During the process, I swiped between the different assets: 3D and 2D. I’m used to being easily bored so when I worked too long on something, I decided to take a break from it by working on something else.
Creative process of the AR Effect
I started with the 3D of the spiral on Blender, and for that, I followed a tutorial on YouTube since I’m still a beginner with this software. It was quite challenging and I’m not fully happy with the result, but it worked!
I followed this 3D with the rest of the headpiece: the circle was the simplest part.
I could have created some depth in it by making the star in relief, but I figured that it would be too complicated for me right now and that a simple texture would work. Sometimes, it’s just about making something look good without complexing the work, haha.

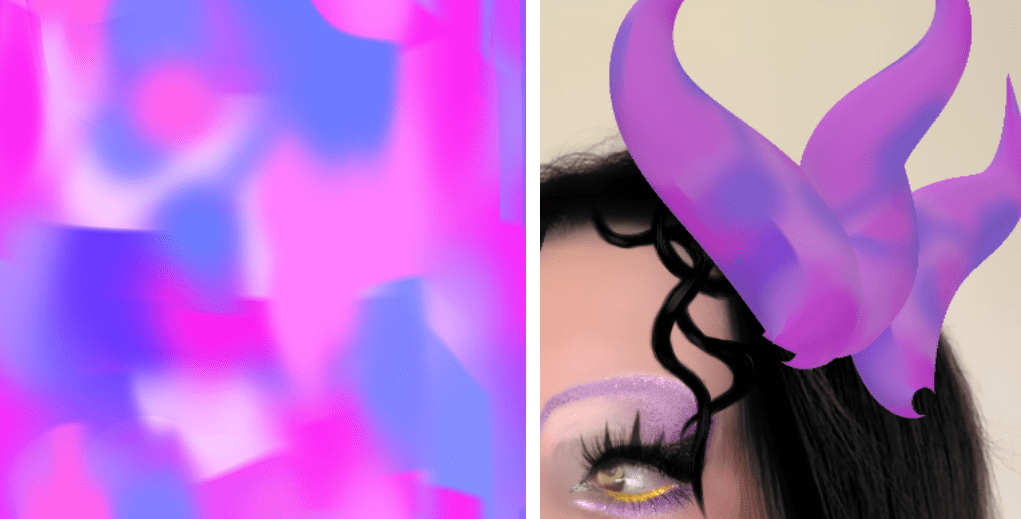
After that I created the horns, the hardest part of it was the texture: I struggled a lot with the UV, so I improvised again by creating an easy texture with blurred colors to make it less flat. I liked the result!
The second part of the headpiece was easier and I’ve mostly created it without tutorials, yes, I’m proud haha.

The 3D didn’t look very nice on Blender, but once on Spark, I added a simple crystal normal map that I found on Google and modified it to make it smaller.
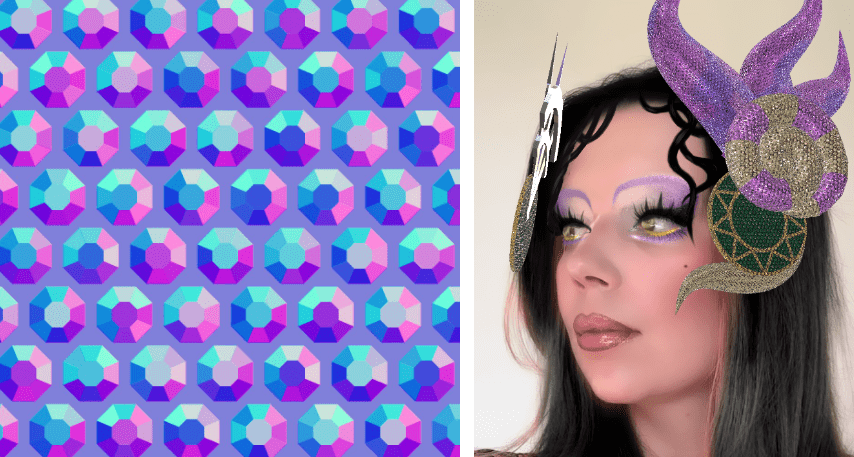
It added some depth and reflection on the 3D assets, it’s not perfect but when you’re a beginner, you need to find some tricks to make your effect look good with the knowledge you have. Be creative! The result is what matters, especially on effects when you can’t see all 3D (for example, we don’t care about the back of your hat on your AR filter, nobody will see it!).
On Procreate, I created the baby hair. This part was total improvisation, I had an idea of how I would make it work but never experienced it before. Once the png were made, I used Blender to curve it in order to make it look more “real”.
For the makeup, I usually mix with Procreate where I draw the shape of it directly on the 3D face model, and then I modify it in Photoshop to make it look better. This step is looooong because you need to send the files on Spark at every change you make.
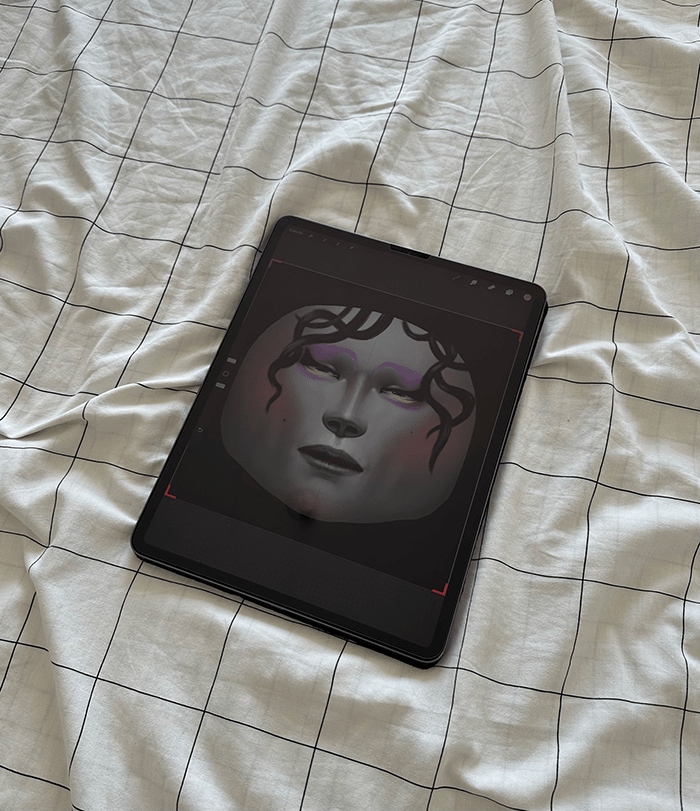
Once I’m satisfied, I play with the materials on Spark to make them the most true to reality. The trick here is to create different face mesh to be able to work on each part of the makeup and modify the glow, transparency, etc…
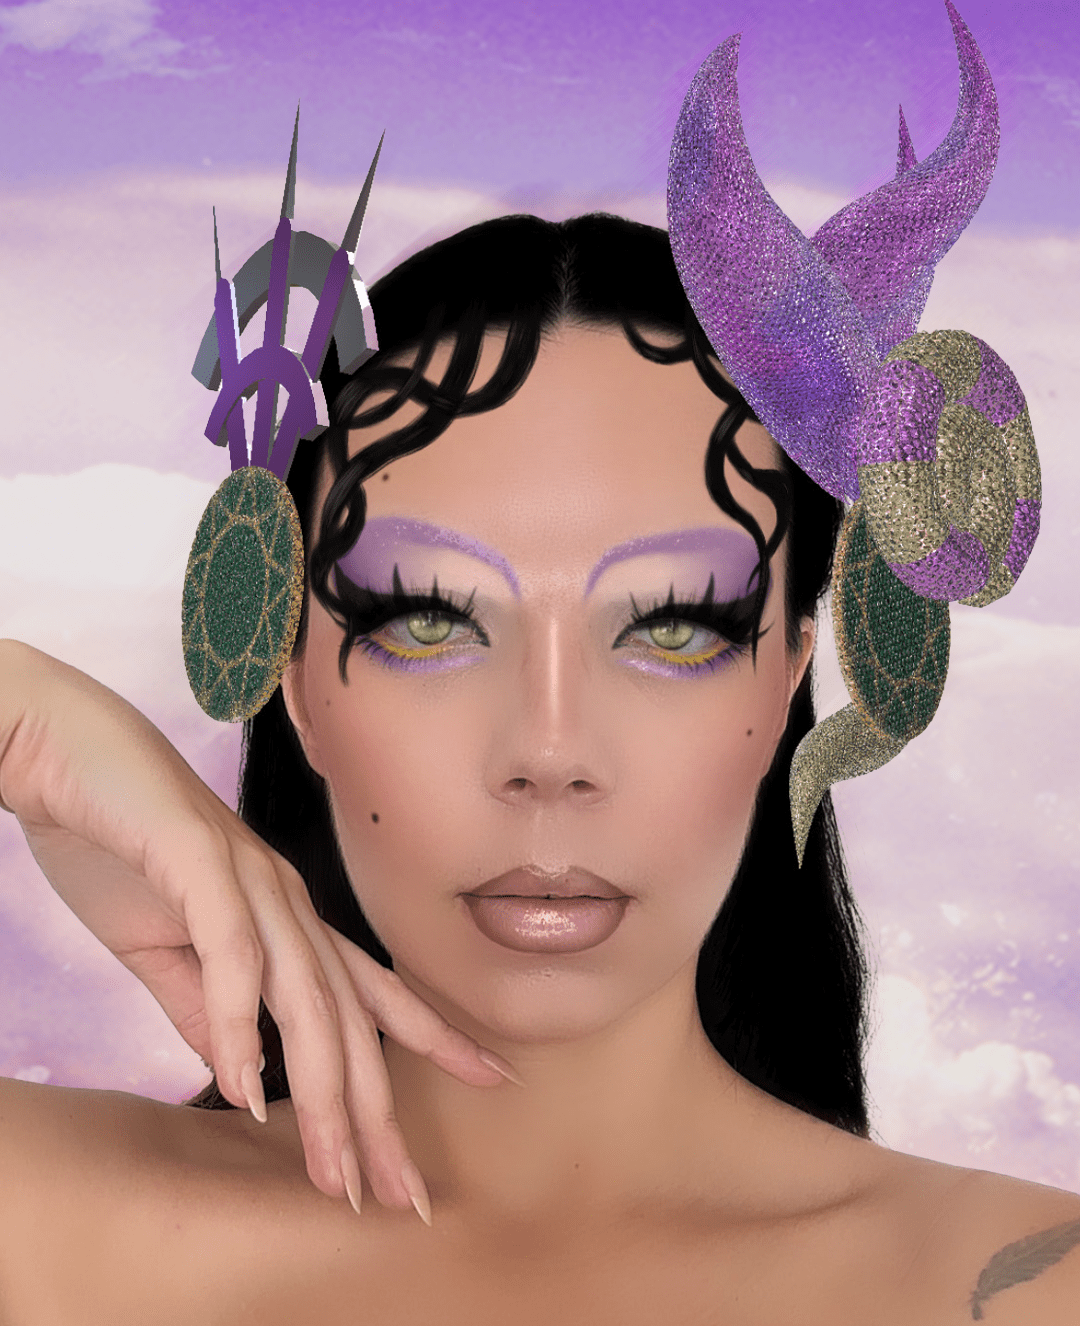
To finish the AR effect, I added a hair segmentation, eye color, and render pass blur effect.
Result
by lucieinreality
Conclusions
I can say that this filter is the one I’m the most proud of. I took a year off creating, it was hard because I couldn’t find motivation and inspiration. When I began to watch Drag Race, I fell in love with the Drag Queen and their unique way of creating. It inspired me a lot, so to make a comeback with this effect is very meaningful to me. And, Nicky Doll saw it! I can’t express how proud and happy I am today, more than just an AR effect, it’s like the first step of a new era.
During the process, I experimented with new things in Blender, I tried new tricks to make the effect look better and reconnect with the creation.
Thanks a lot Lenslist for the opportunity to talk about this effect, that means a lot to me. I’m forever grateful for the things you’re doing for the AR community 💜
We believe that this AR face mask incorporating the finest details will truly enhance your appearance, even if you’re not involved in Drag Art! 💋 We thank to Lucie and applaud her fantastic idea, which was inspired by Drag Show! 😍 In turn, we hope you will find your inspiration and create something extraordinARy like she did, just in your own way! 🪄💕
